Built a Shed From Scratch
Not every project on here is going to be about computing. This one's from the garden rather than the terminal — a lean-to style timber shed, built from scratch against the side of the house, from the base up.
The base
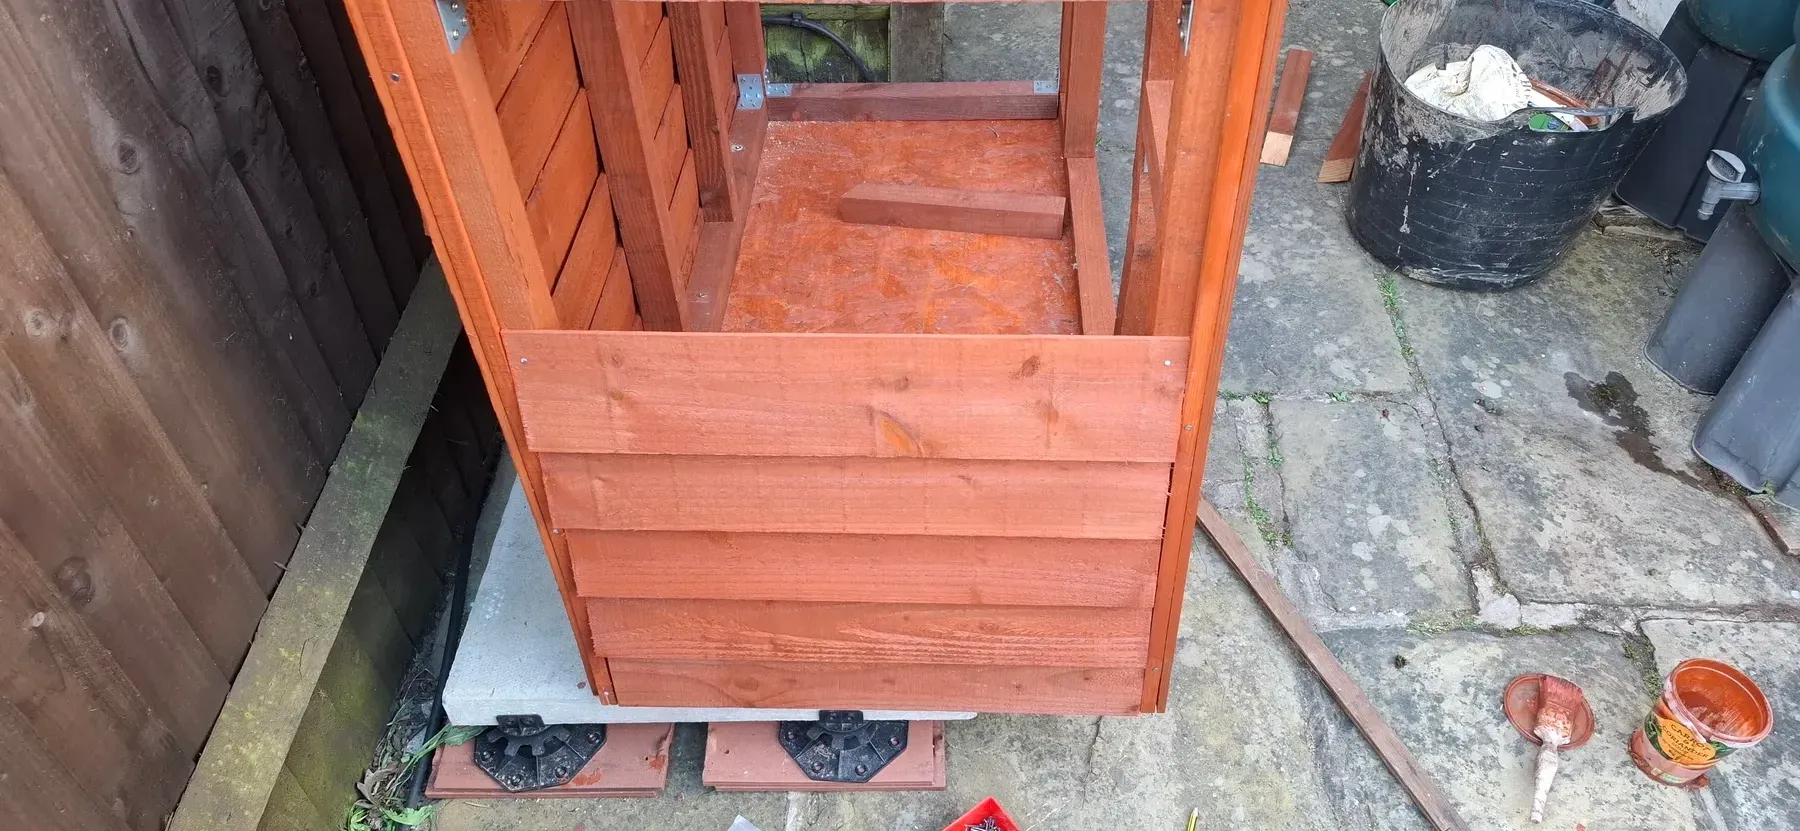
A concrete pad was never really on the cards here. The patio underneath is on a noticeable slope, so I went with adjustable paving-slab pedestals instead — they let you level everything out independently of the slope, rather than trying to fight it with the base itself.
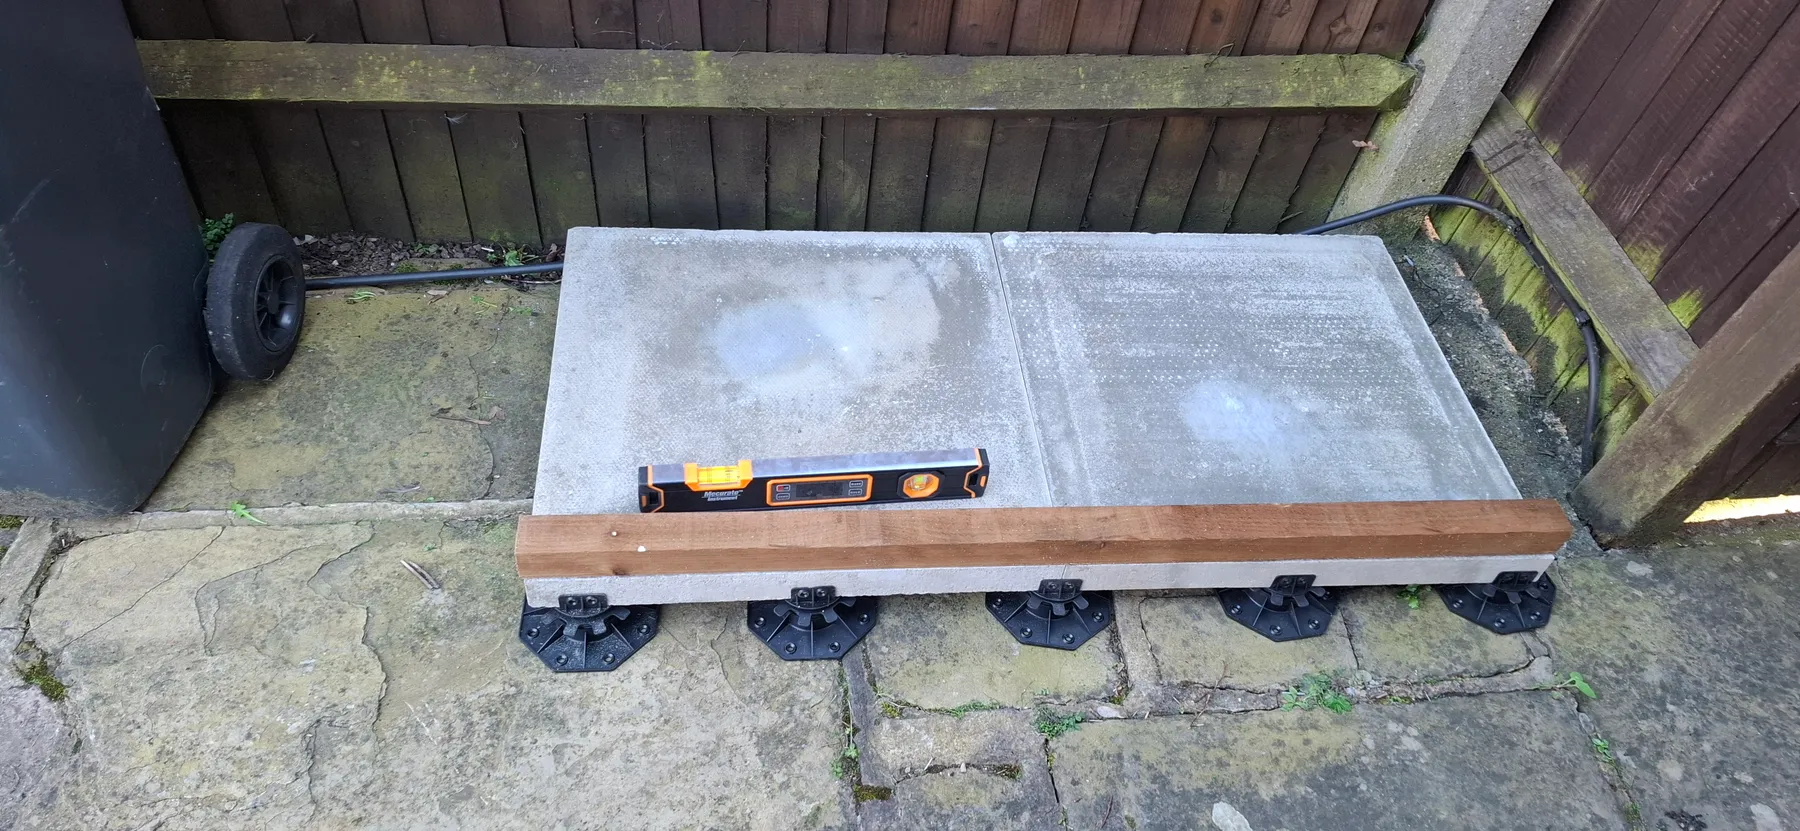
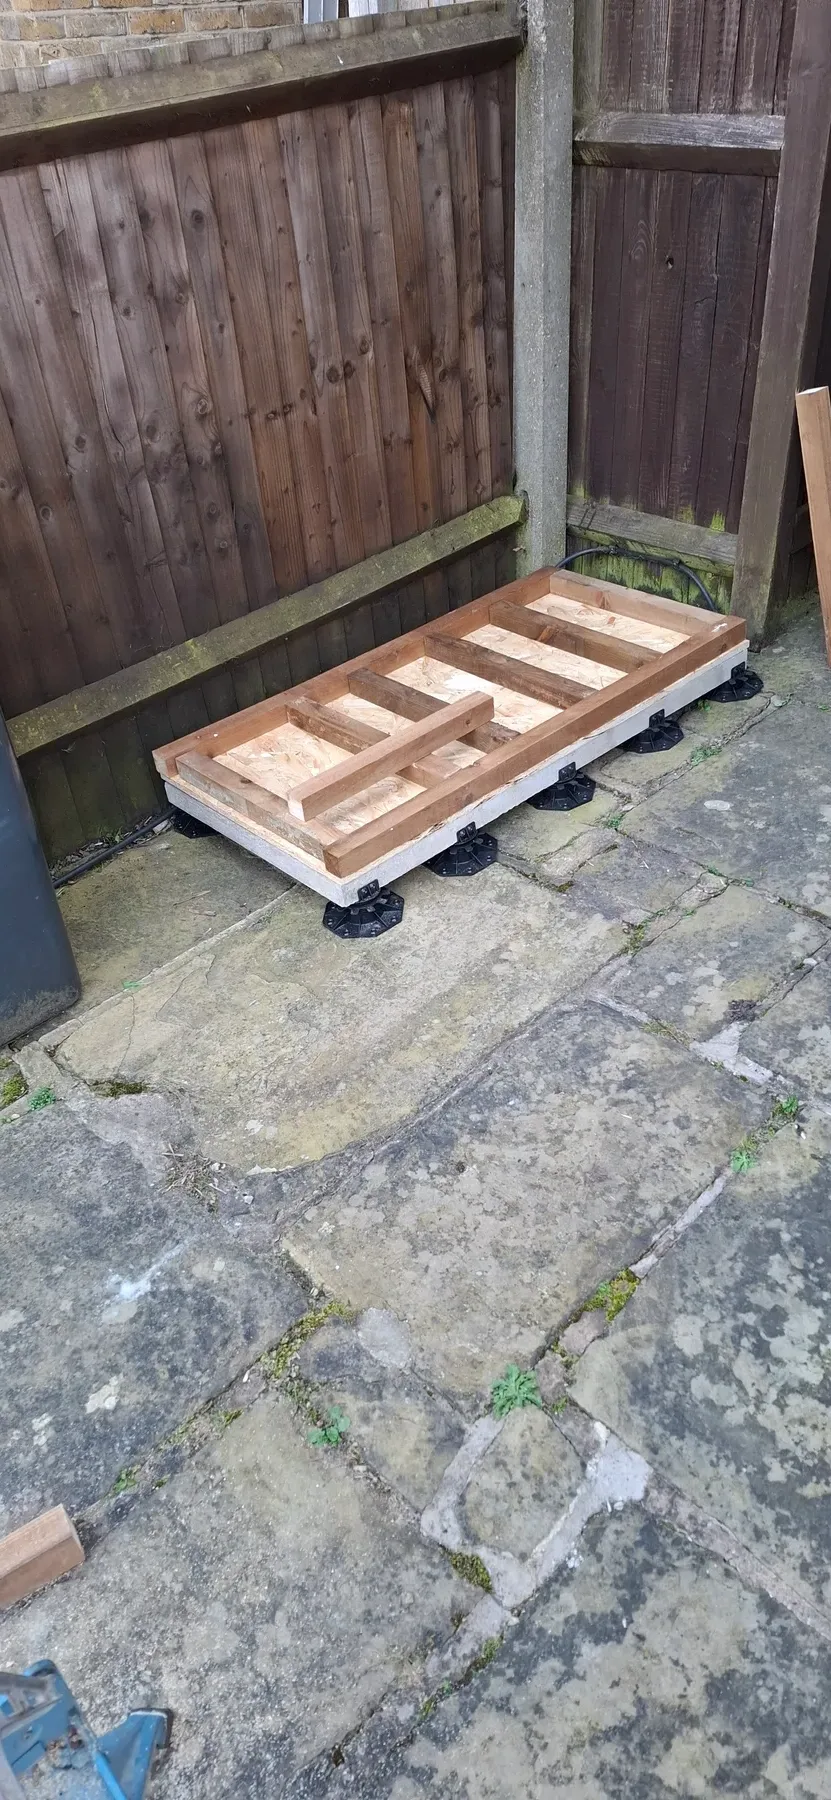
With the slabs level, the base frame went together next — treated timber joists with OSB board across the top, again all resting on the pedestals rather than fixed straight to the patio.
Cutting, painting, framing
All the timber for this came from Aylwards Fencing in Enfield. Worth a mention on its own — the staff there were genuinely helpful, talking through how to actually put the thing together rather than just selling me wood and sending me on my way.
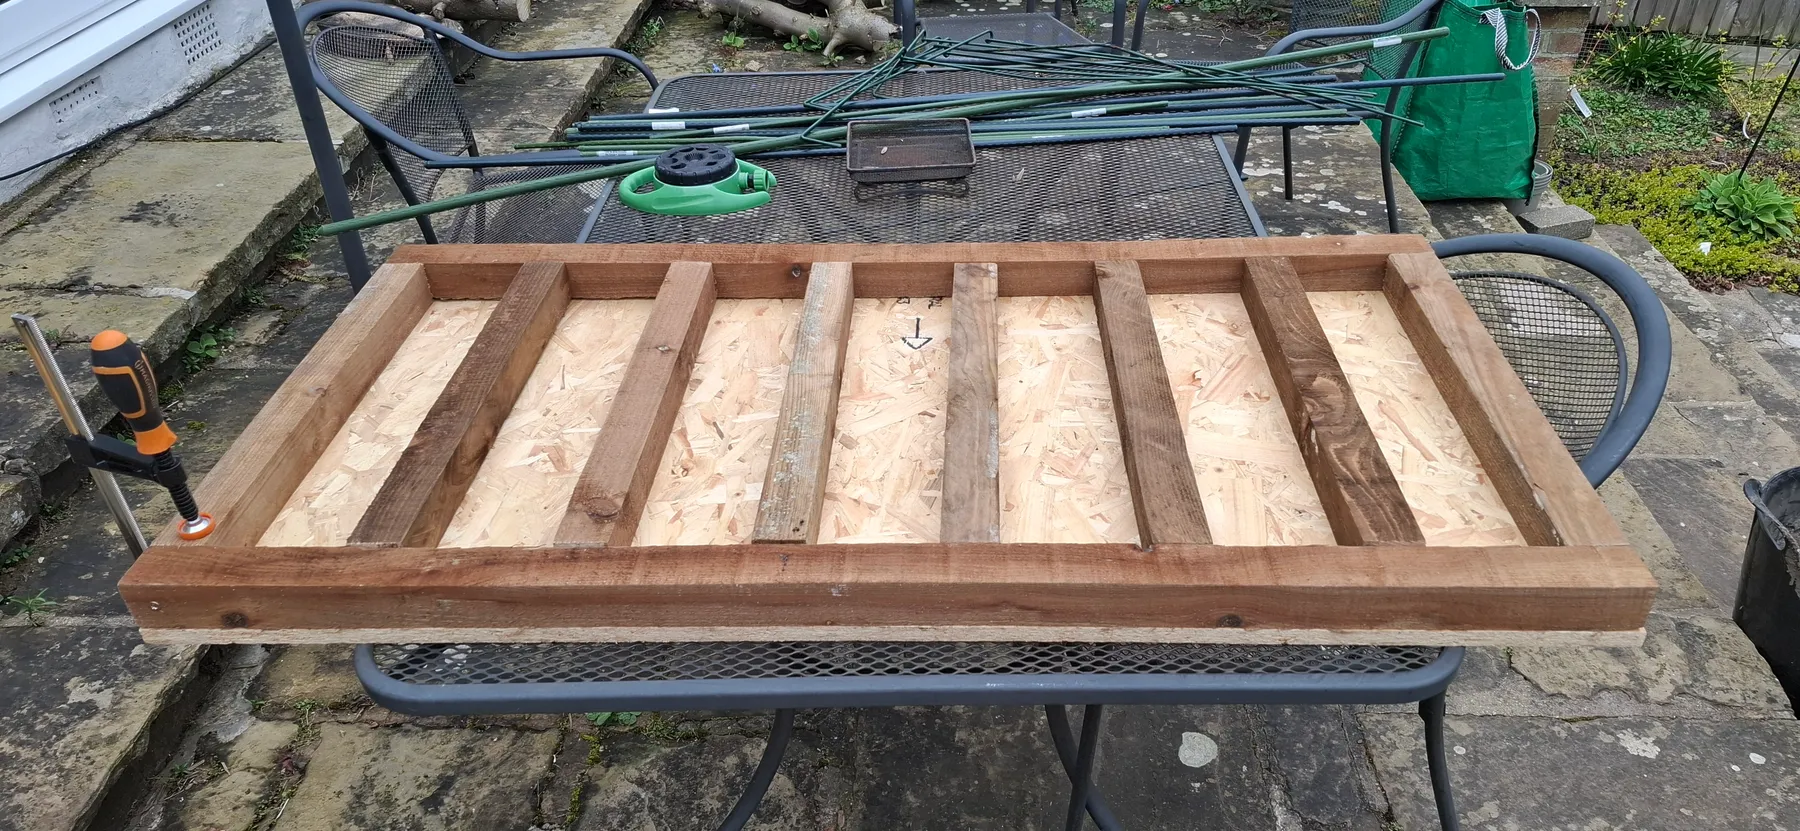
Next came the least glamorous but most time-consuming part: cutting every piece of timber to length and giving it a coat of red wood stain before assembly — much easier to do flat on the patio than once it's upright and half-boxed-in.
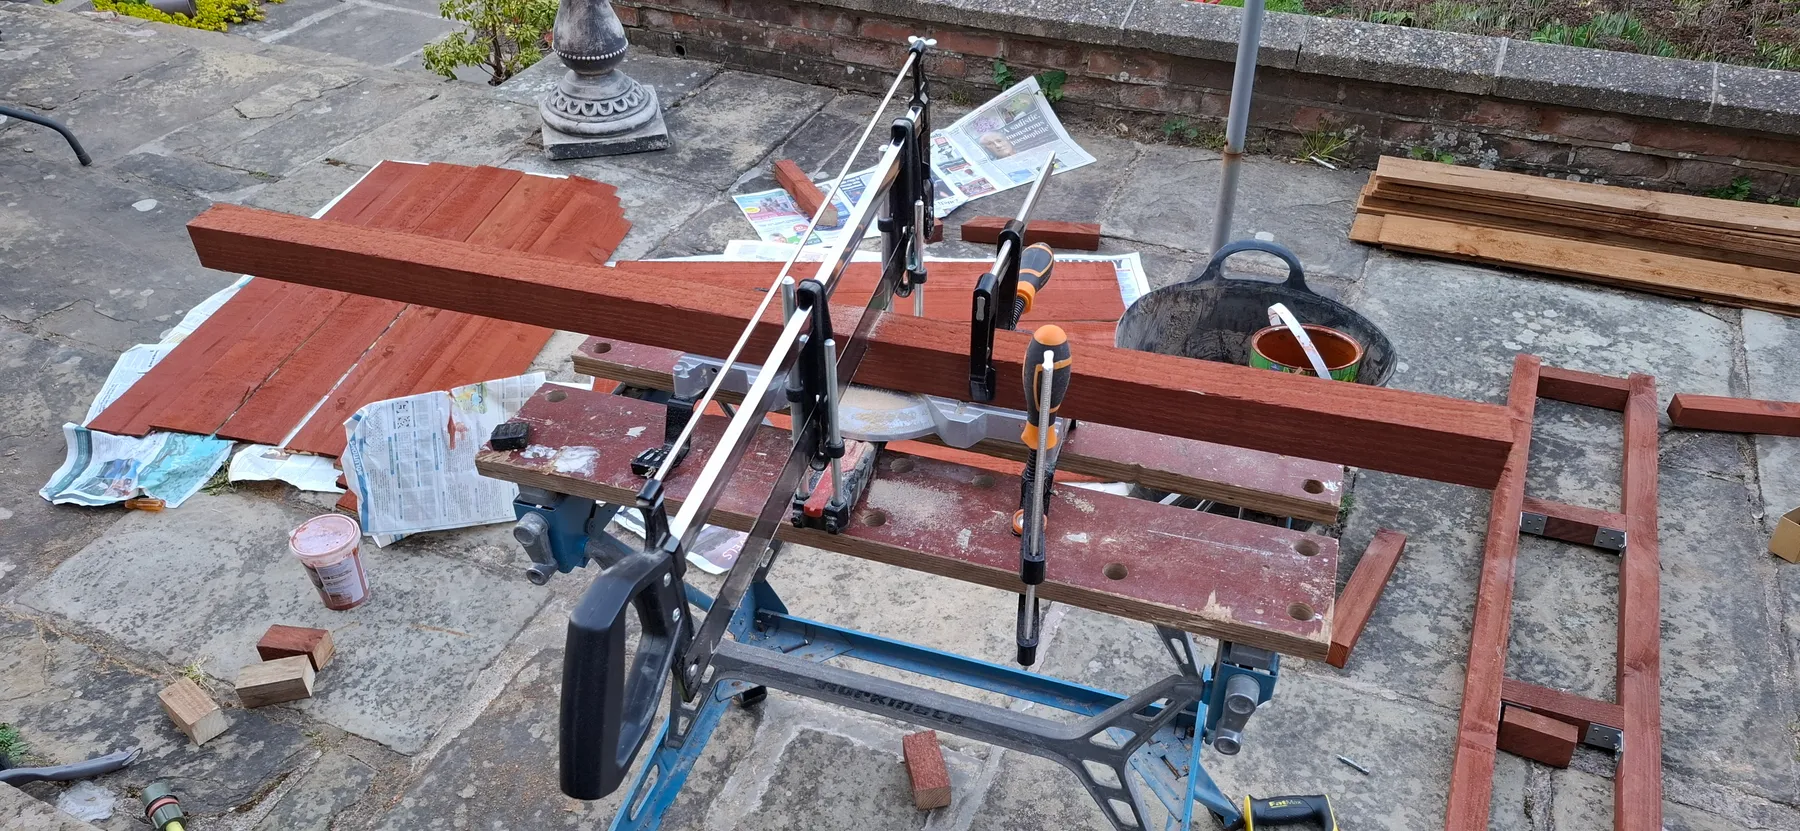
Once enough pieces were cut and stained, the first wall frame went together on the ground.
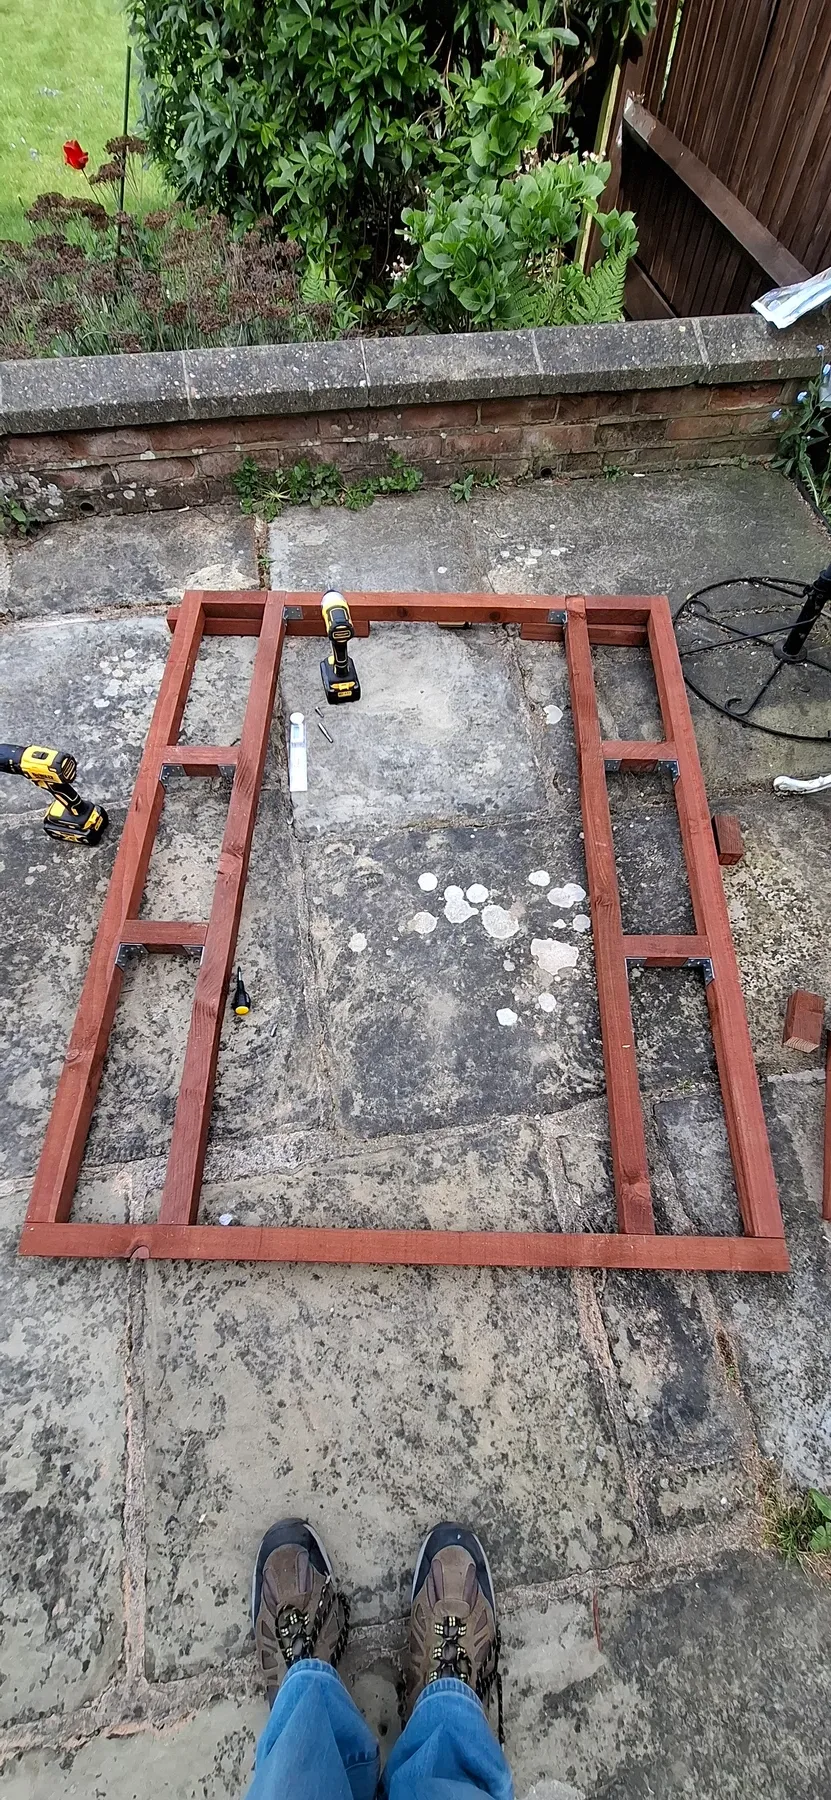
Getting the roof angle right
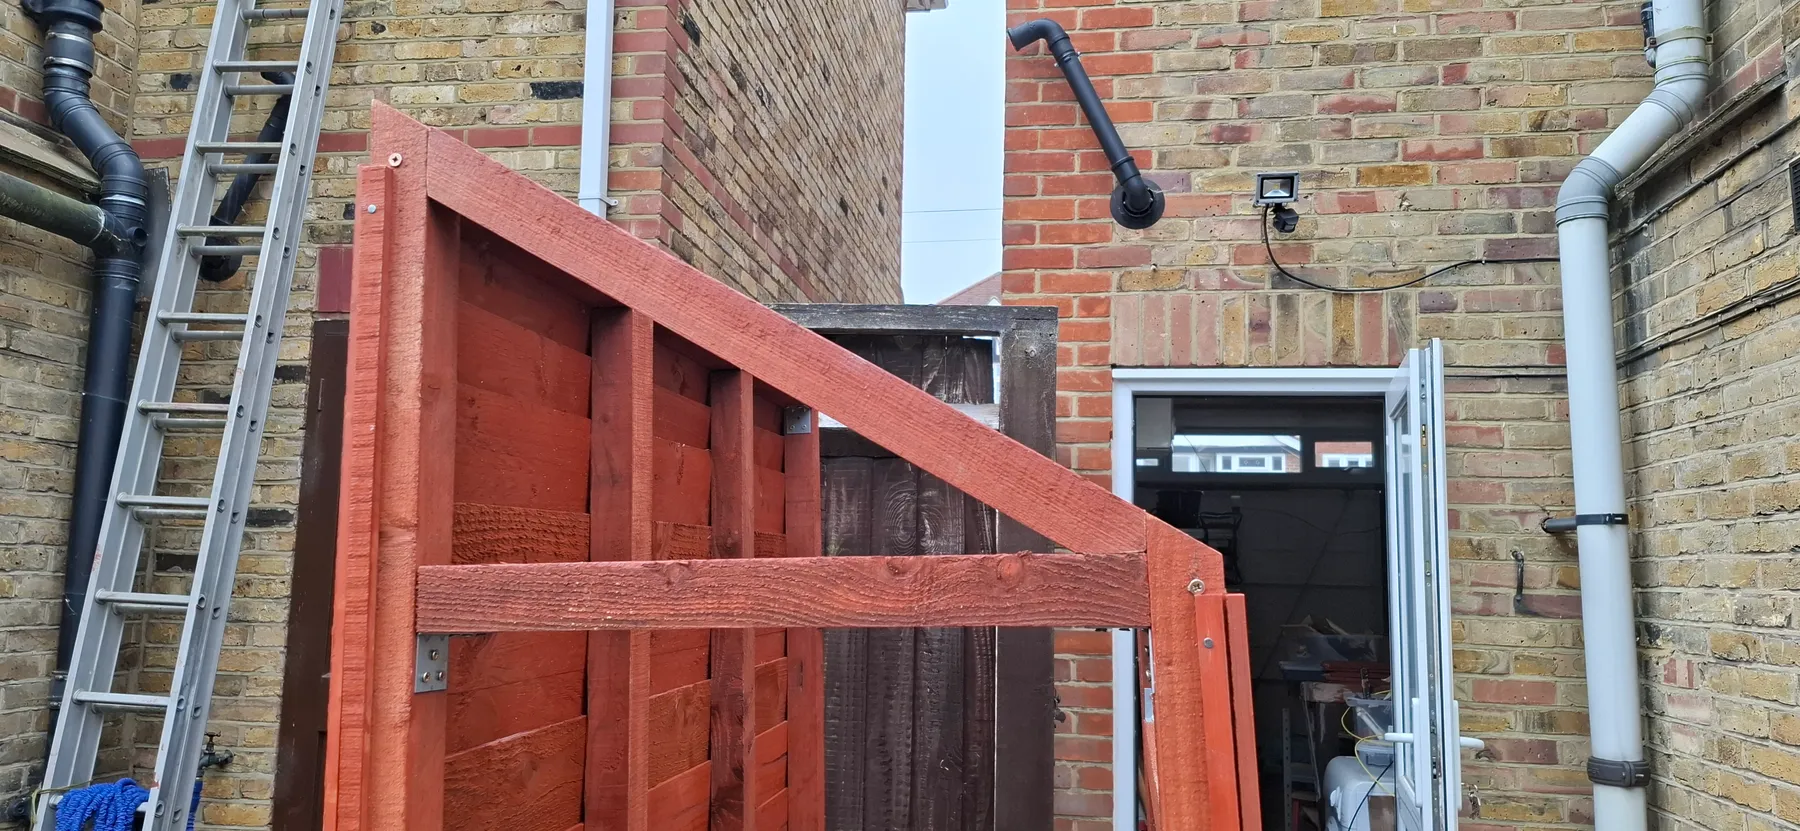
A lean-to roof means one clean sloped line, which means getting the angle and the height right before anything gets fixed permanently. A fair bit of this stage was just measuring, checking, and measuring again.
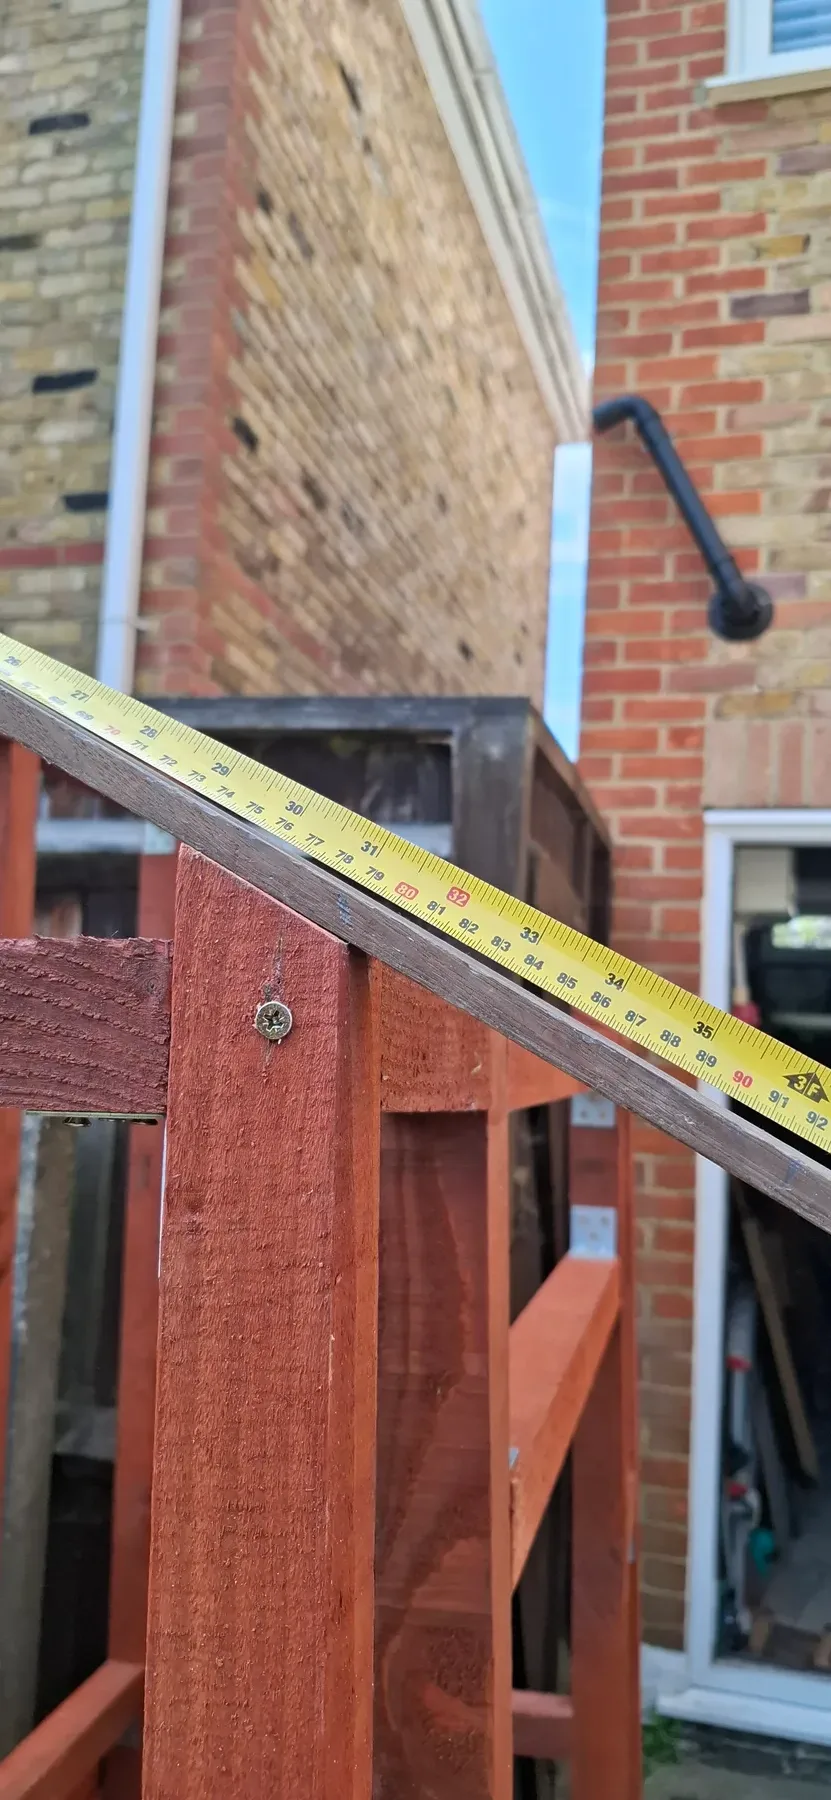
Roof and cladding
With the angle confirmed, the roof structure went on, followed by the cladding boards, working from the bottom up so each row overlaps the one below.
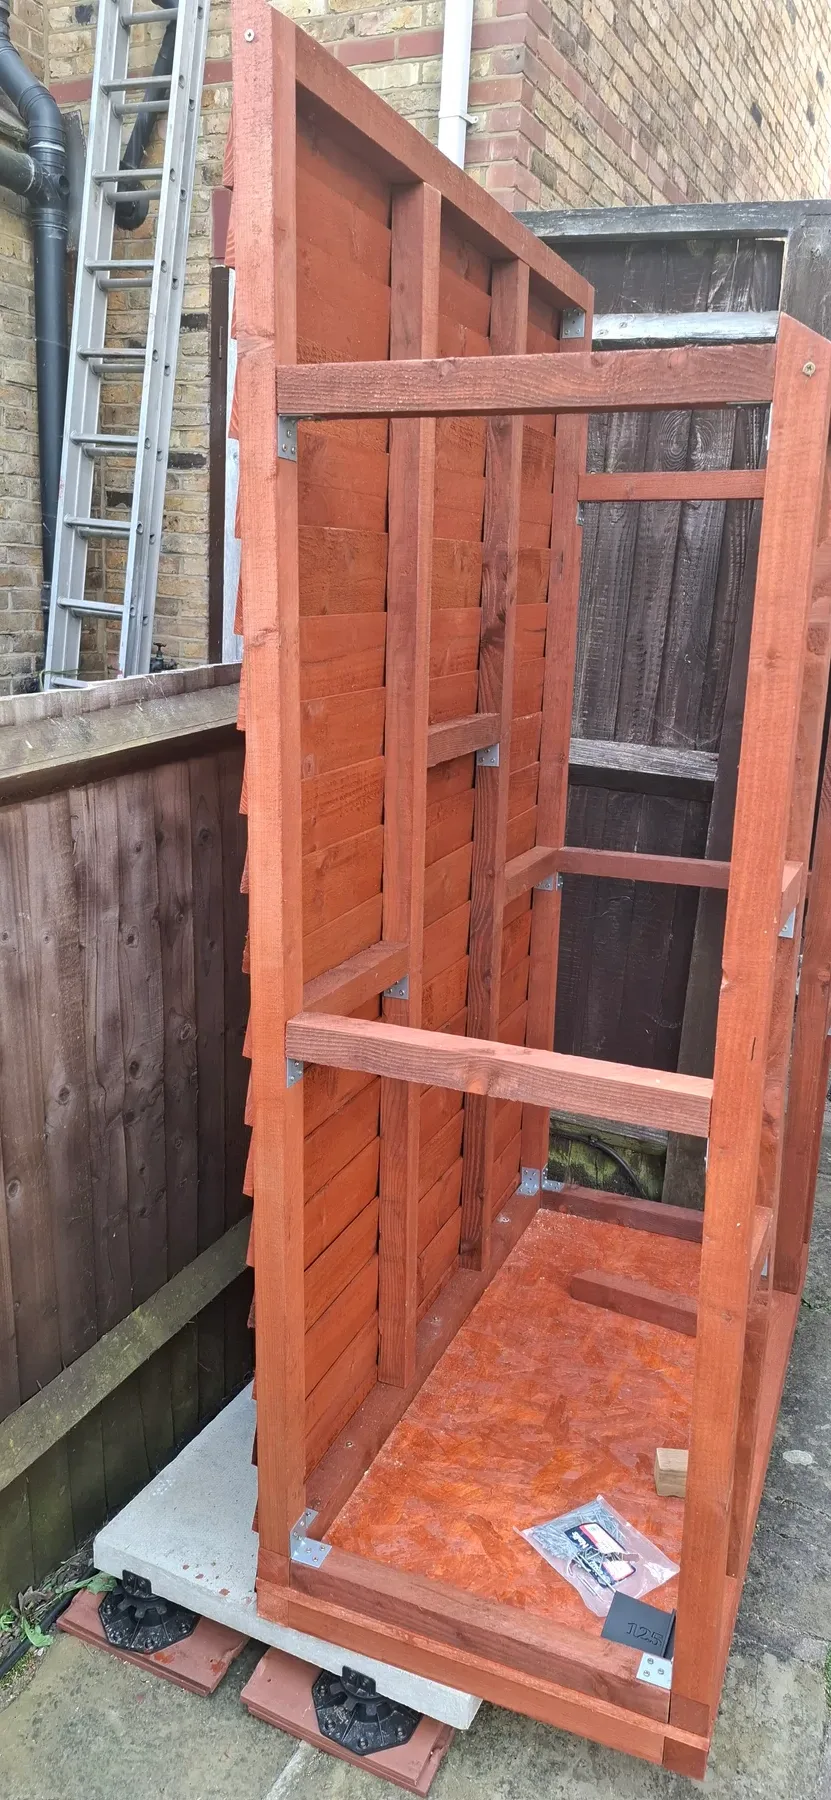
The roof beam itself gets fixed directly to the house wall for support:
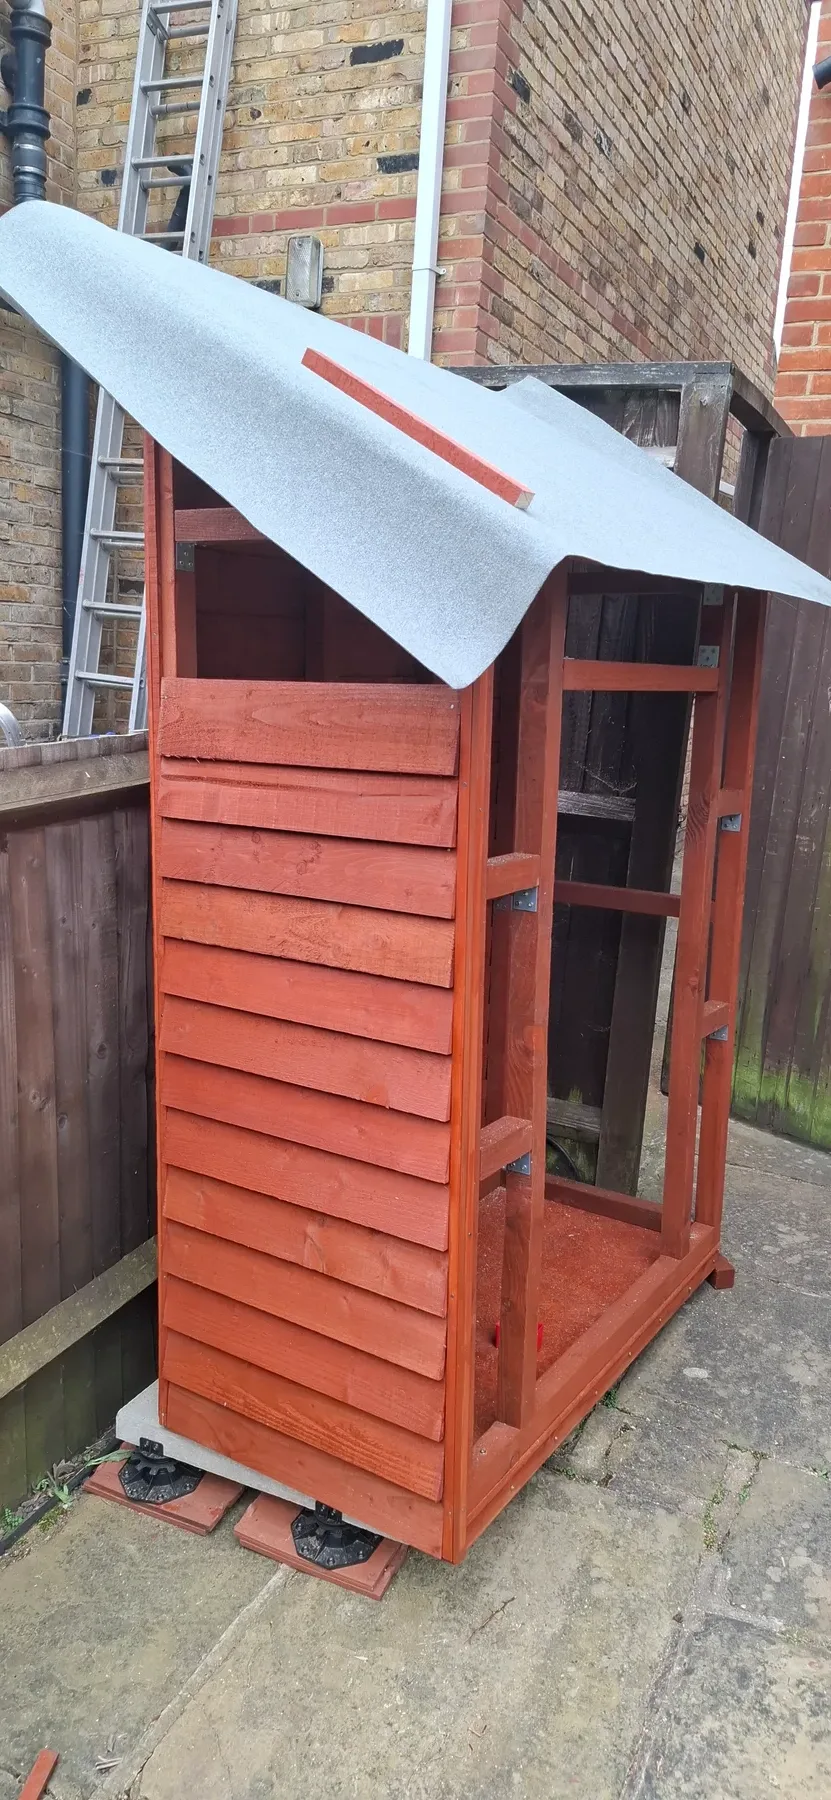
Then the roofing felt went on over the top:
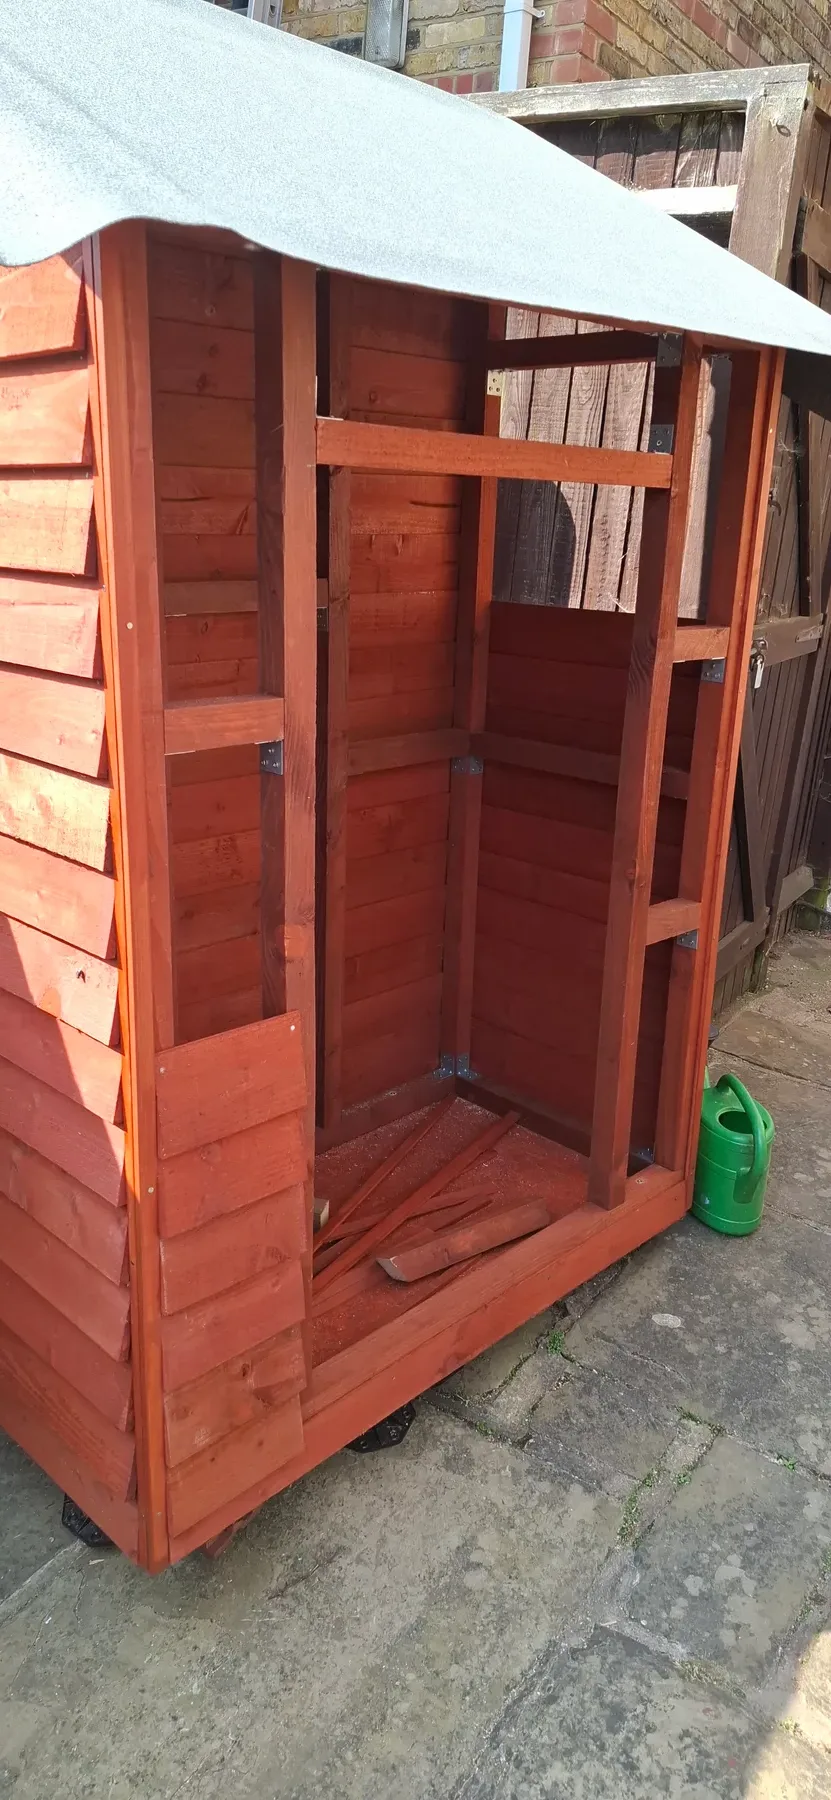
Finished
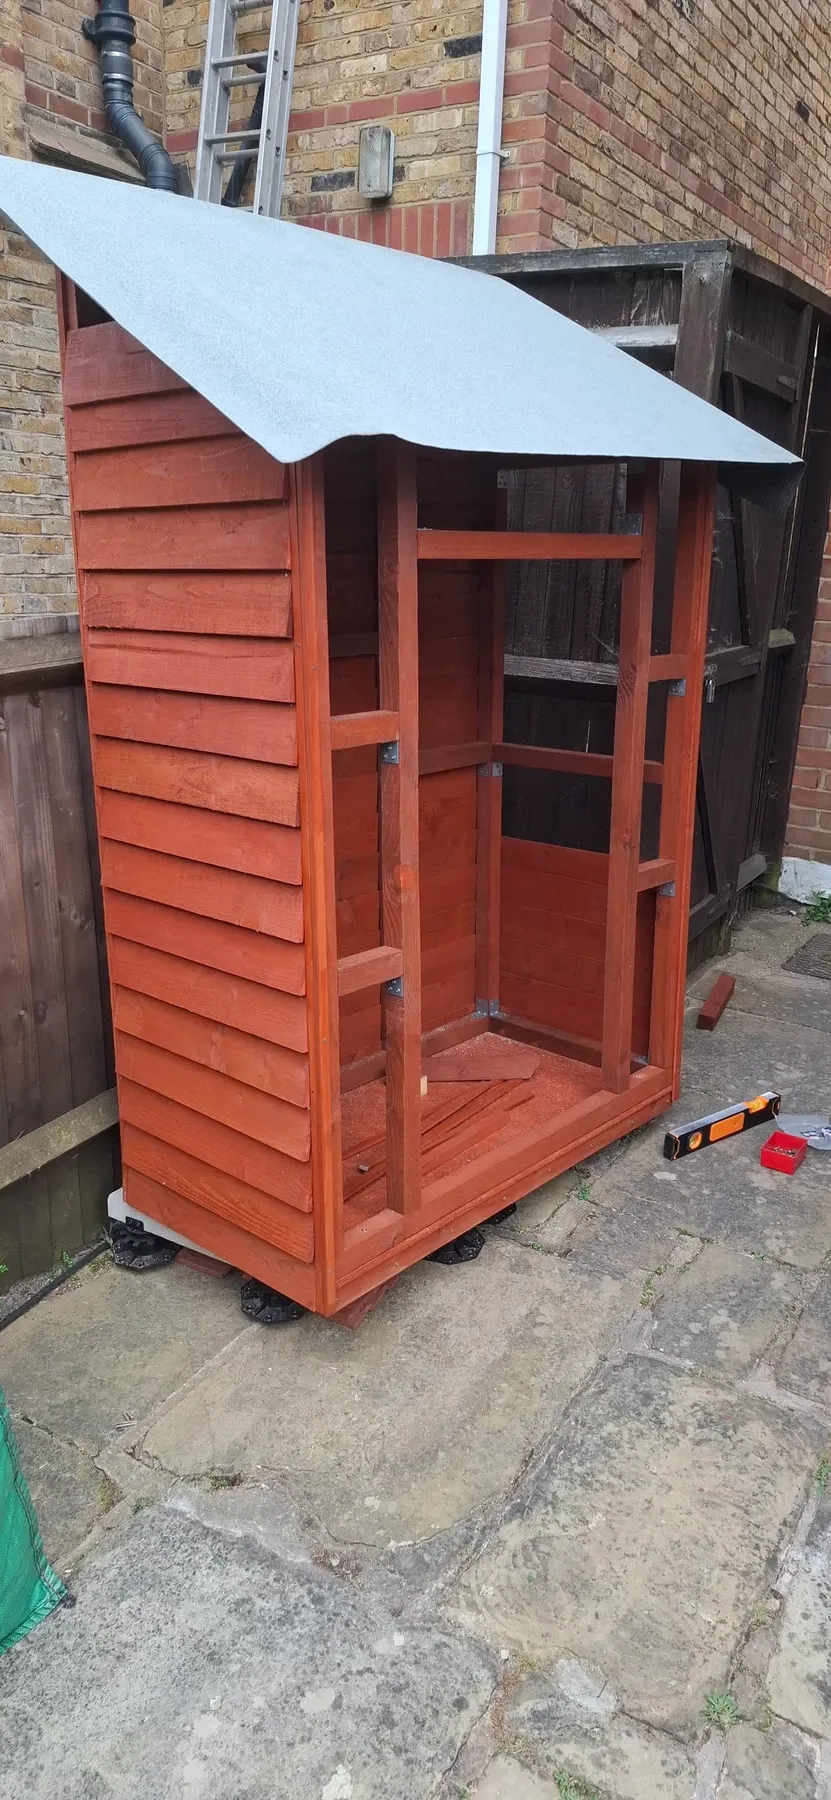
A door, hinges, and the last of the cladding later, and it's a proper shed — narrow enough to fit down the side of the house, tall enough to actually be useful, and built to actually last.
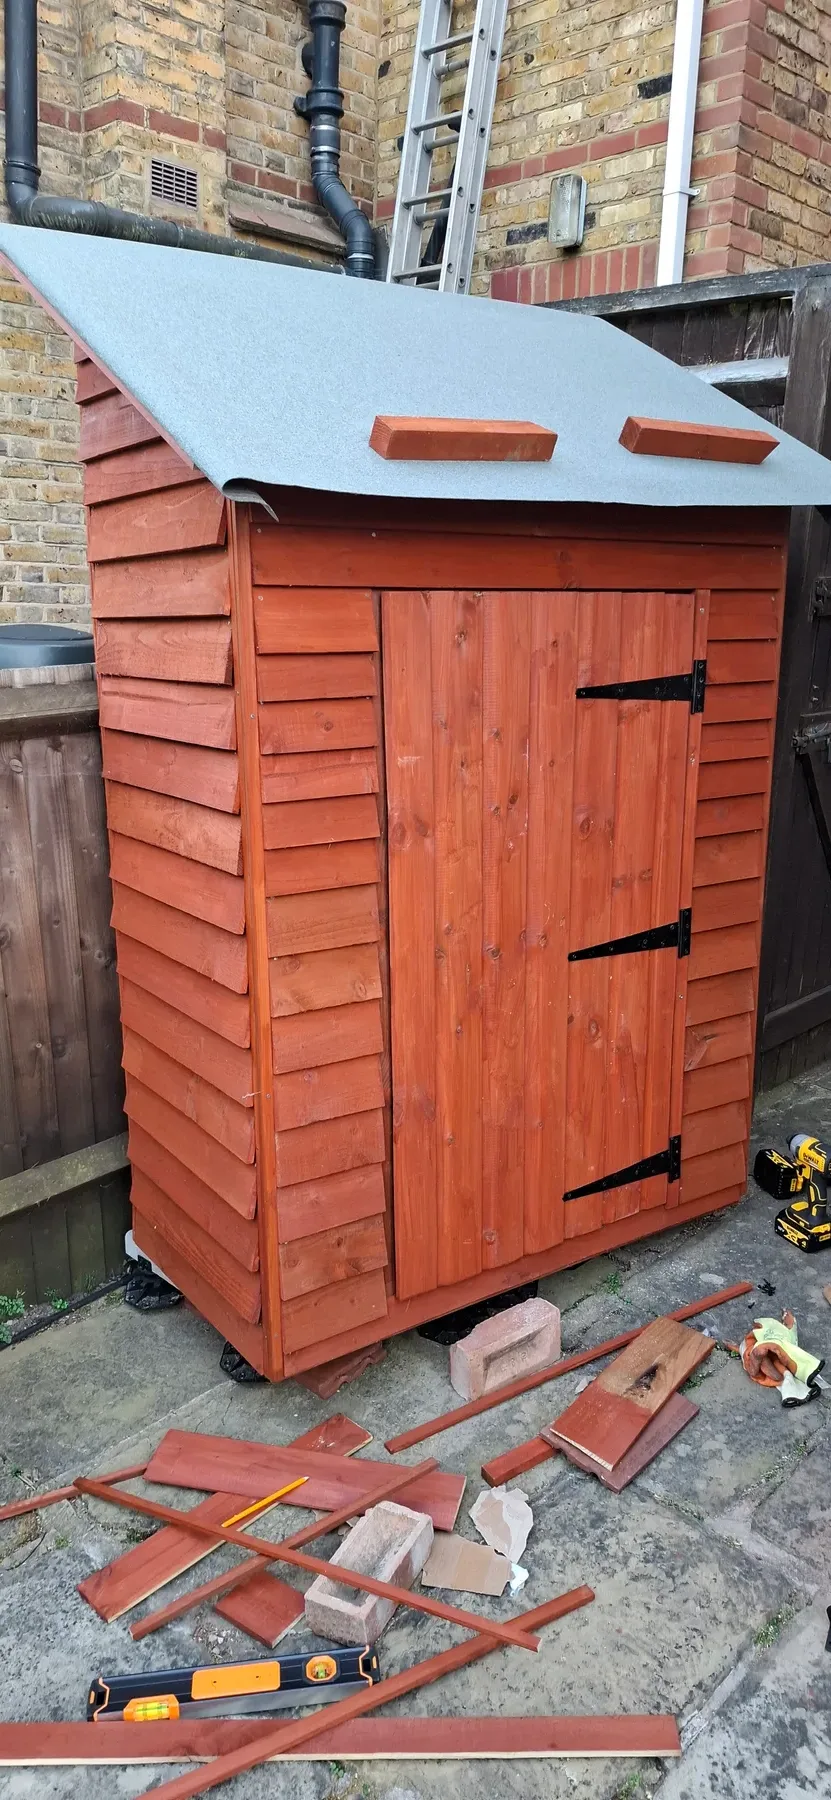
Total build time was spread over a couple of months of weekends rather than one solid push, and that was less about scheduling than about the fact that this was the first time I'd properly built anything out of wood. A lot of the time went into just thinking — working out the design, second-guessing measurements, walking away from a problem and coming back to it rather than pushing through and getting it wrong.
And there are things I'd do differently. A few joints aren't as clean as they should be, the roof angle took more trial and error than it needed to, and there are a couple of decisions I'd make the opposite way with the benefit of hindsight. It's very much a "V1" — useful, standing, doing its job — but I've already mentally sketched out what a V2 would do differently.